Thursday, 18 June 2015

Top 5 Google Tricks.

Top 5 Google Tricks

Top 5 Google Tricks.

Google is the most powerful and best search engine.It is the most used search-engine on the world wide web,handling more than three million searches each day.


We all know how to search on Google, but did you know that there is a lot more that you can do? Here are 5 Google tricks that you should definitely try.


  1. Search "tilt" and see what happens?

  2. Google gravity
  3. What happens when google elements come under the influence of gravity, the laws of physics and all other stuffs. Well this trick lets you find out what will happen when google elements come under the influence of gravity.


    • Go to www.google.com/preferences and turn off the instant results.
    • Now type Google gravity in Google search box and click on I am feeling lucky.
    • That is all. You can see Google Search page scattered all over the page. Objects flying everywhere with the click of mouse. You must get the result somewhat similar as shown in the image below.

  4. Search "zerg rush" in Google and you will get the hidden Google game


  5. Search "Atari Breakout" in google and move to the image section to play an another masterpiece


  6. Here is my most favourite one just type "Do a Barrel roll "in the Google Search-box and get the absolutely brilliant trick


IF YOU WANT A PRACTICAL EXAMPLE OF IT CLICK HERE TO VIEW MY YOUTUBE VIDEO

What are your favourite Google tricks, Comment below, Thanks.

Tuesday, 2 June 2015

Custom Recovery for Moto E

We'll be discussing how to install custom recovery on Moto E(Not rooted). We'll be listing down the steps that'll help you install either TWRP or CWM on your Moto E.

Prerequisite-
Drivers
Android
TWRP or CWM(Download and rename as recovery.img)


Steps-
1. Unzip the Android folder onto your Desktop

2. Install the drivers that you have downloaded

3. Paste the TWRP or CWM in the Android folder

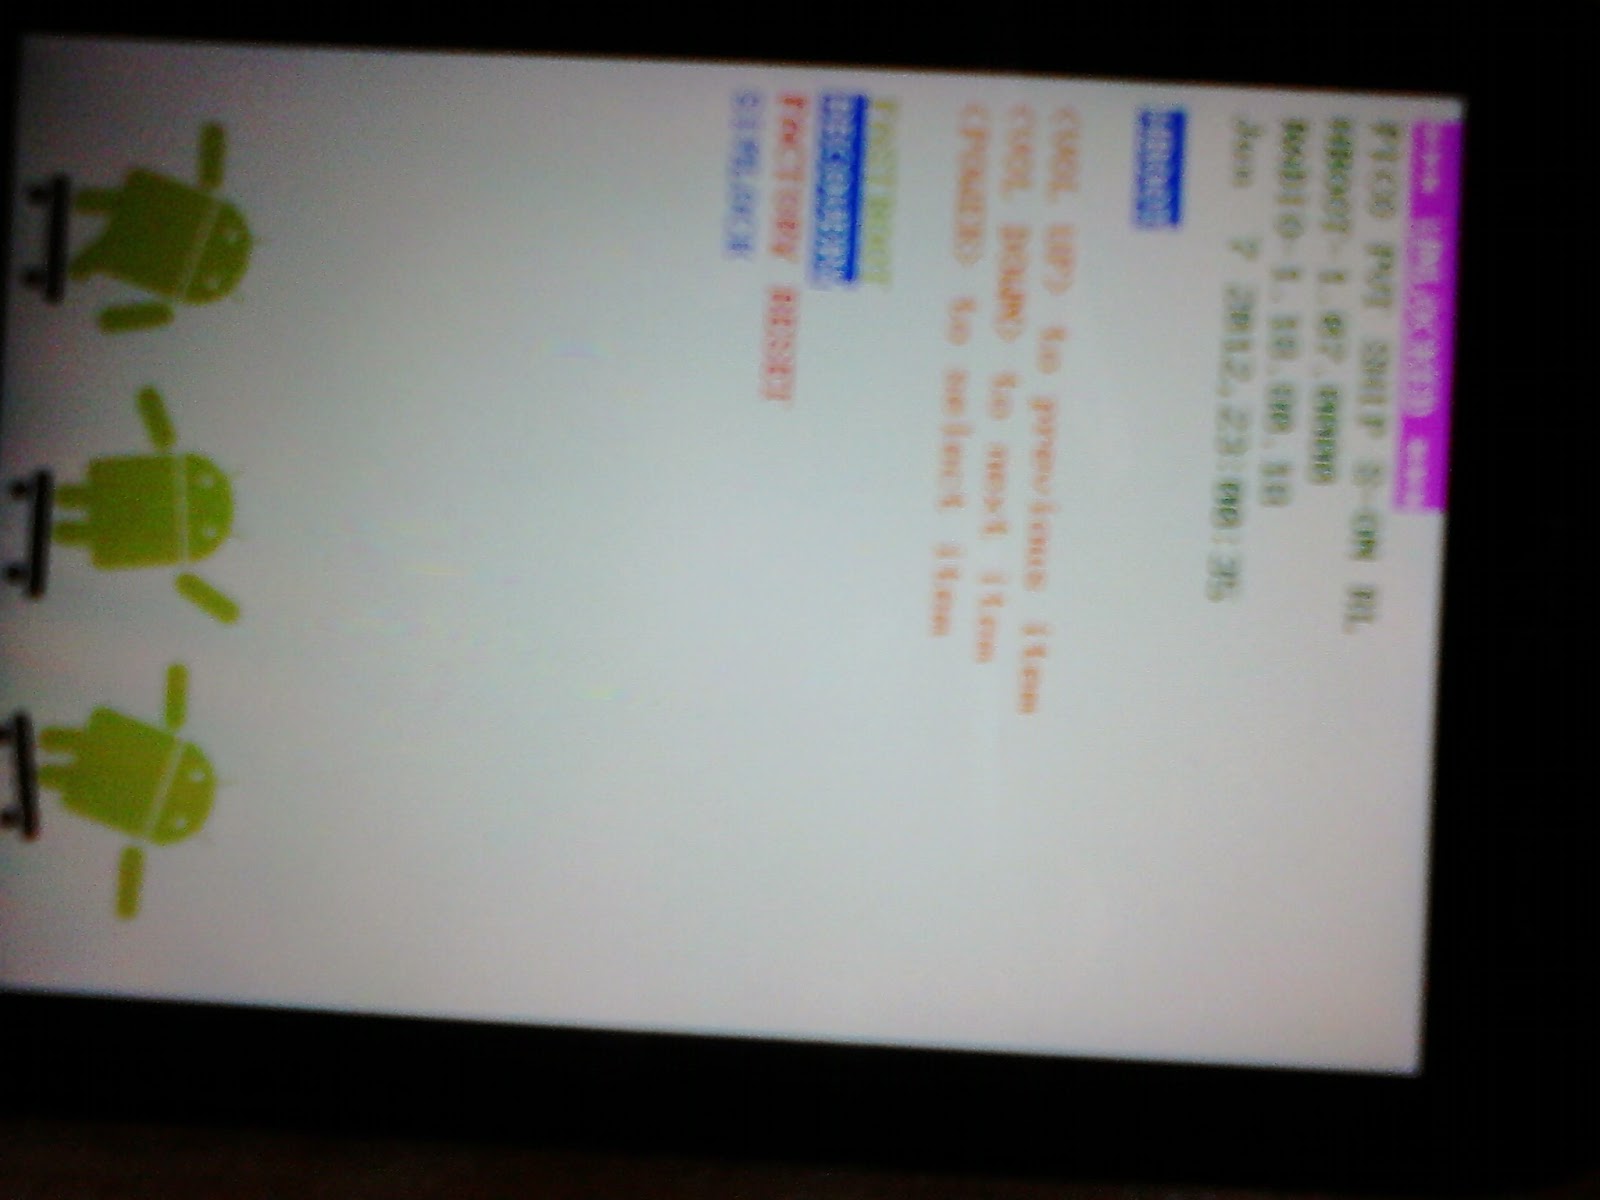
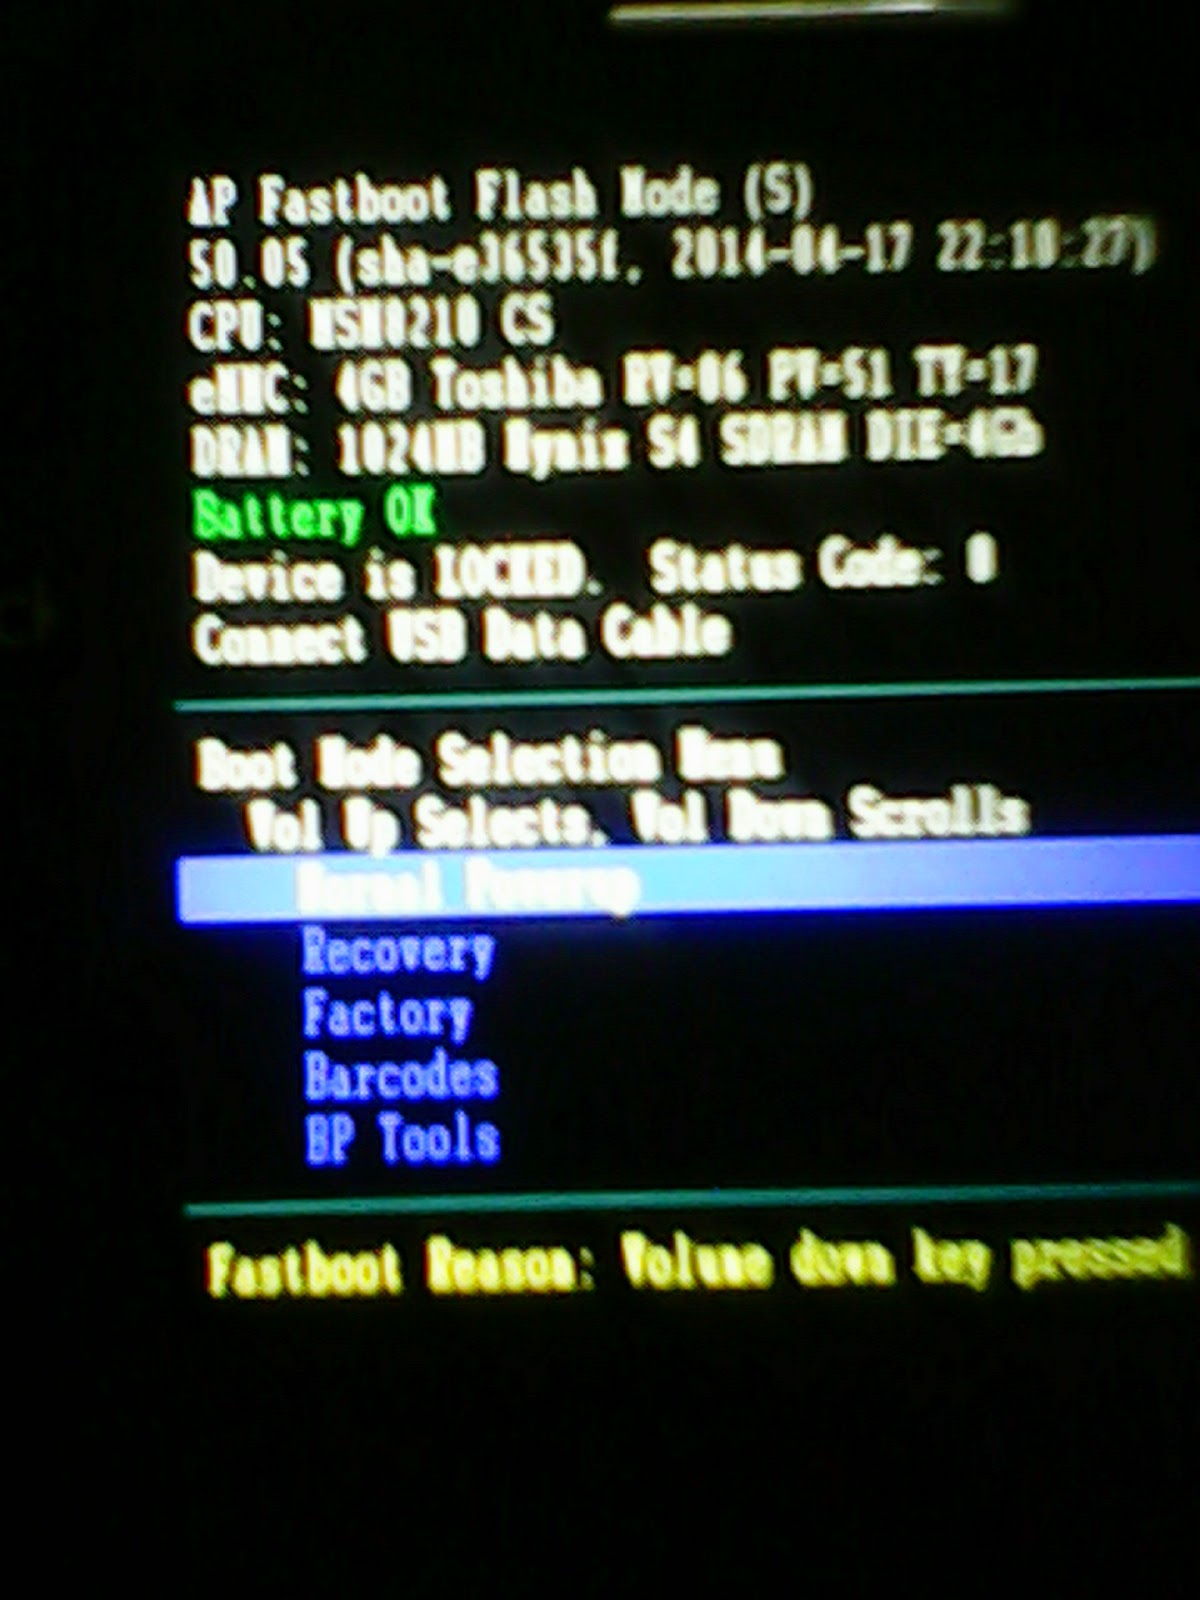
4. Put your phone in fastboot mode, to do that first switch it off then. Keep the power and volume down button pressed for about 4 to 5 seconds then you'll enter a screen containing option such as recovery, factory reset. That's the fastboot mode of your device

5. Now open the Android folder  and press Shift+RightClick then select 'open Command Prompt here' option.

6. Connect the phone to the computer via USB.

7. Type fastboot devices to check if your phone has connected properly, if it has connected properly some result will be returned.

8. Now type fastboot flash recovery recovery.img

9. Then select the recovery option from the fastboot screen.

That's it you have installed a Custom Recovery on your device.

How to get Android Lollipop for Moto E

Today I'll be sharing with you the way to get Android lollipop on your Moto E. It's been a while since Lollipop update was announced for Moto E but it hasn't come up till now. Since I was eager to try the Lollipop, I flashed CyanogenMod 12 and now I am enjoying the Android Lollipop on my Moto E. So I'll list down the steps to be followed-

Note- This procedure requires you to unlock your bootloader and then you lose your warranty. If you perform any step wrong, chances are there that you may brick your beloved device. Consider yourself warned before proceeding.
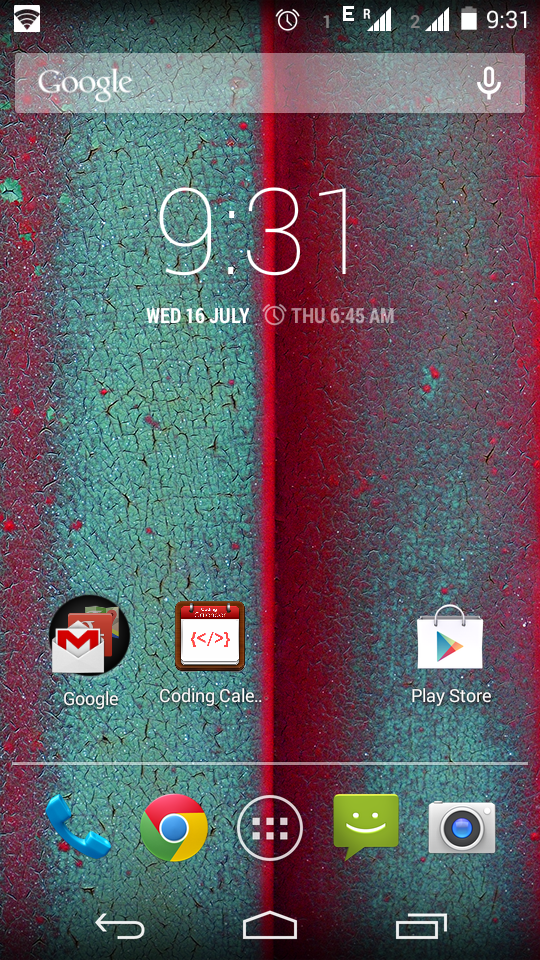

Okay, if you have decided to take the risk lets begin-

Prerequisite-
Custom Recovery(TWRP or CWM)
CyanogenMod(Download and copy to SD card)


Steps-
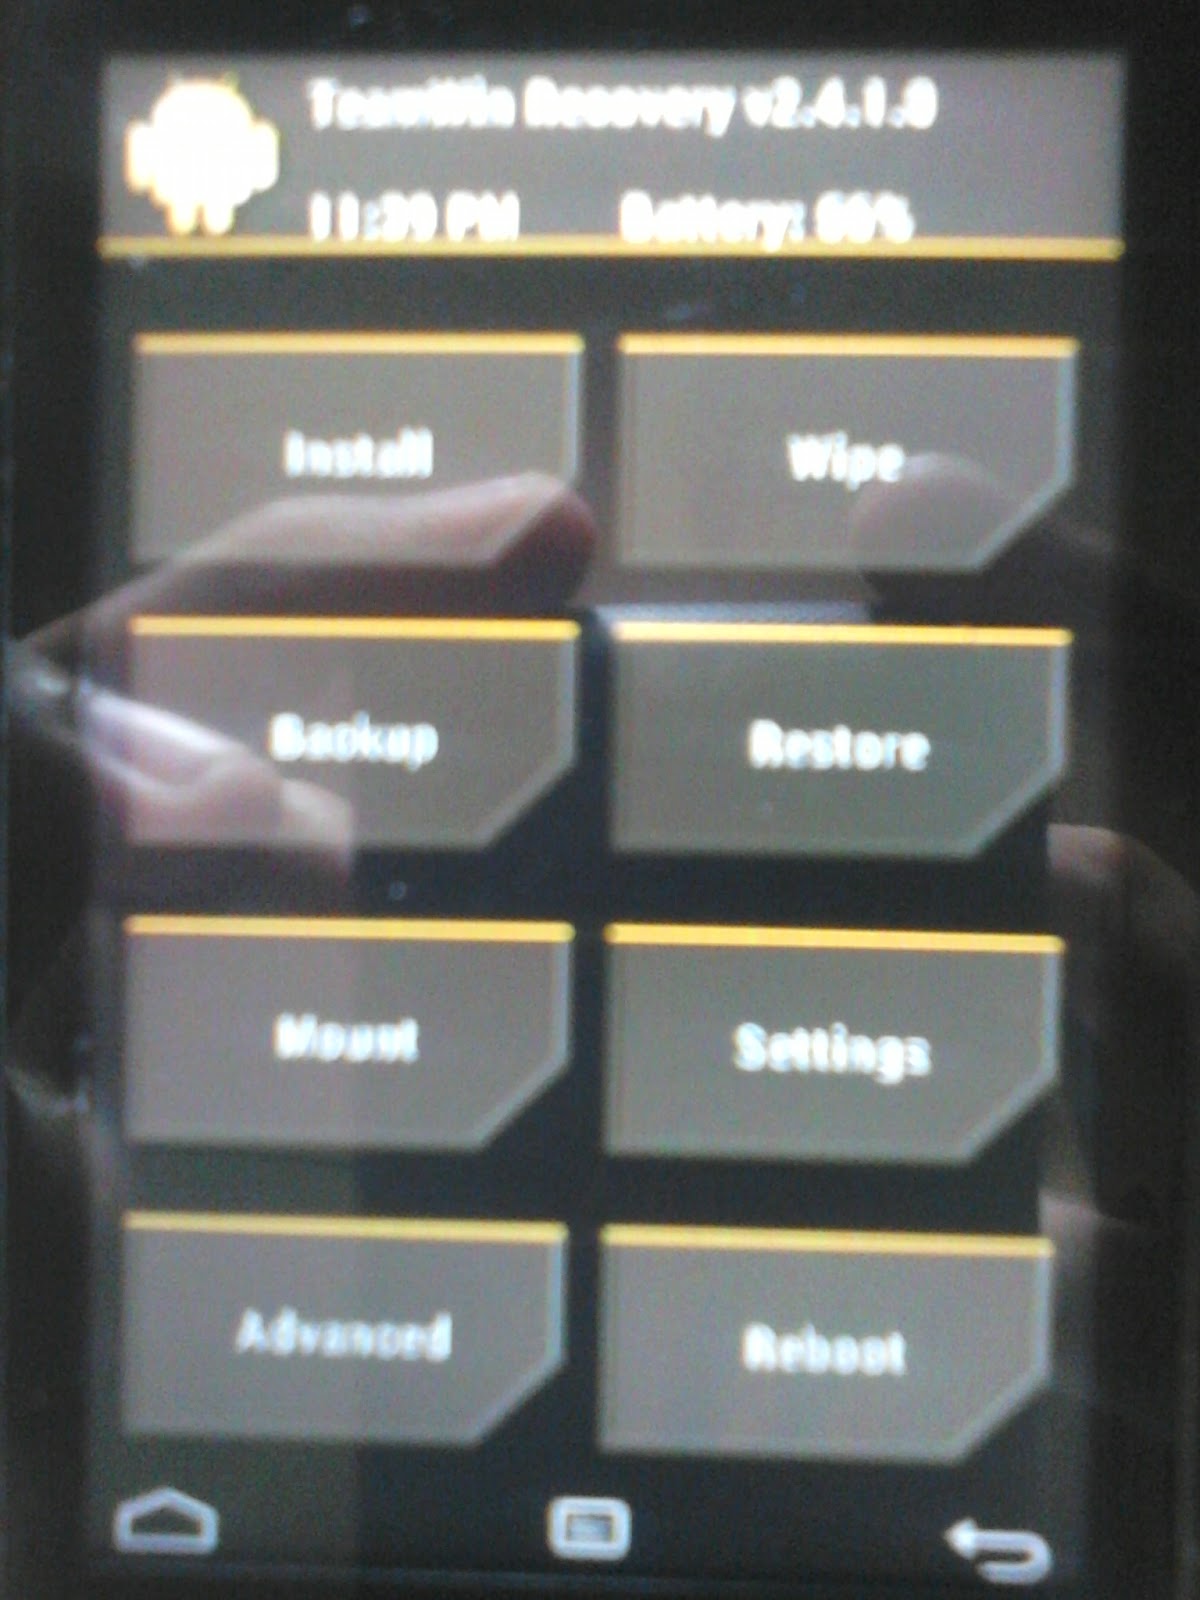
1. Turn off your device, and enter into recovery.(After switching off keep the power button and volume down key pressed  for about 3 to 4 seconds. Then use volume down button to choose recovery option and then press volume up button to select it. Device will enter into recovery mode.)

2. Make a backup of the current ROM, in case anything bad happens.(As Anything that can go wrong will go wrong :-P)

3. Wipe Dalvik cache, cache and do a factory reset.

4. Select install option and choose the CyanogenMod zip which we had downloaded earlier and copied to the SD card.

5. After the process gets completed, reboot the system.

6. Now the CyanogenMod logo will appear, it'll take a while to load for the first time. 

Now enjoy Android Lollipop 5.1 and be the envy of your friends who are still waiting for the Stock ROM update.


Saturday, 7 March 2015


Weapon Hack Of Zombie Age 2

WEAPON AND BOOST HACK OF ZOMBIE AGE 2

Take your stand against the walking dead in the best zombie game ever.It's is cool addictive game but it's major disadvantage is that the weapons are locked and you have to work your ass off to get it , which takes a lot of time.But here I am gonna tell you about how to get those weapons for free within minutes.

PREREQUISITE

  1. ROOTED CELL
  2. Root Browser
  3. Text editor

THE WEAPON HACK

  1. Open the game the weapons are locked at first, close the game and open "root browser"
  2. Navigate Here data->data->com.redantz.game.zombie->shared_prefs

  3. Initially all the weapons would be set to zero except the first one. Now change all the value to 1.

  4. Now the most important part "SAVE" the file everything that we did would have no effect until we save the file
  5. Restart the game and all the weapons will be unlocked

THE BOOST HACK

  • Carry the same steps as before till step 3
  • Change the value of int name = "BOOST_GAME_1" value="2" TO
    int name = "BOOST_GAME_1" value="200" here 200 specifies the no of boost you want
  • change the value of all the boosts in the similar manner

IF YOU WANT A PRACTICAL EXAMPLE OF IT CLICK HERE TO VIEW MY YOUTUBE VIDEO

Monday, 9 February 2015

what is "ROOTING"?


why to root?

Hey fellas, today i am gonna talk about the topic called "ROOTING(Android OS)"


We might have come across this word when two people talking like "HEY I HAVE ROOTED MY PHONE AND NOW I CAN DO SOME COOL STUFF WITH MY PHONE" and you have no idea on what they are talking ,Or when you are just checking your friend's android and there are various cool features on his phone and you ask him "hey, how did you get this cool features?" and he's like "I have rooted my phone bro, And flashed the Cyanogen mod custom rom".Enough of this crap now let's just get to the main deal.


What is rooting?

The most common example you have windows operating system you have an administrator account and a guest account you can access to whatever you want in your administrator account but you cannot access those functions with the guest account . Similarly is with your android you are the guest not the administrator .And by rooting you will become the administrator of your android.You will be able to do lot more thing's that are disscussed .

Rooting-Rooting is the process of allowing users of smartphones, tablets and other devices running the Android mobile operating system to attain privileged control (known as "root access") within Android's sub-system. Rooting is often performed with the goal of overcoming limitations that carriers and hardware manufacturers put on some devices. Thus, rooting gives the ability (or permission) to alter or replace system applications and settings, run specialized apps that require administrator-level permissions, or perform other operations that are otherwise inaccessible to a normal Android user. On Android, rooting can also facilitate the complete removal and replacement of the device's operating system, usually with a more recent release of its current operating system

Why should we root our device?

  1. After certain amount of time, The manufacture will stop providing you the system updates.Or you are just little impatient, you want the updates as early as possible. This is the first reason you can updates first before anyone can.
  2. If you are bored with the user interface of your device and you want a change the look and feel.After rooting you can flash in a new custom rom and the entire user interface.Now there are tons of custom rom's but my personal favorite is the cyanogen mod because it is the most stable and popular custom rom.
  3. You can remove the bloatware and preloaded apps.
  4. You can overclock your phone processor and make it run faster, or adjust it in a way to save battery life.
  5. You can change the boot animation or your shutdown animation.
  6. You can install the apps from the google play store that require root access.
  7. You can have a better backup by installing third party apps like titanium backup.
  8. Now if you have less internal storage and it's quite annoying.But after you have rooted your phone you can partition you sd card and can increase your internal storage.
  9. One of my favourite reason to root is that by rooting your phone you can install apps like lucky patcher and freedom that can buy you in app purchases all for free. Not only that you can also break some apps Android Market License Verification.

Disadvantages of "ROOTING"

  1. The major disadvantage of rooting android is that it void's your phone's warranty.And in future if any problem occurrs with your android. The Company is going to charge you even when it’s in the warranty period, Because the problem is not due to their software malfunction it's because of you who have rooted the phone.
  2. And the next big disadvantage, You might just brick your' phone.No Matter how carefully you follow the steps certain error's just might occur And you may softbrick your' phone. Not to discourage you When I first rooted my phone I ended up,softbricking my phone for a week, until i found the solution on the web.

CONCLUSION

NOW YOU ARE AWARE OF THE BENIFIT'S AND THE DISADVANTAGES. WHETHER TO ROOT OR NOT TO ROOT IS COMPLETELY YOUR' DECISION, WHILE ROOTING YOU CAN COME AGAINST MANY PROBLEMS,EVEN I DID. BUT ONE THING MATH'S HAS TAUGHT ME IS THAT "THERE IS A SOLUTION TO EVERY PROBLEM"


NOW YOUR' DONE WITH ROOTING PLEASE CHECK OUR POST ABOUT "MUST HAVE ROOTED APPS".AND PLEASE DO LIKE US ON FACEBOOK AND JOIN WITH US ON TWITTER.

Wednesday, 4 February 2015

A Simple Guide on enabling WhatsApp Calling feature.

I'll show you a method by which you can enable WhatsApp calling feature in your WhatsApp,  before it's officially available.

Note- The beta testing of the calling feature has been shut by WhatsApp, so you will not be able to call anyone until further testing starts or its officially available.

Requirements- Rooted phone, WhatsApp version 2.11.508 or above, Android 4.2.2 or above.

Go here and download the latest version of WhatsApp available, as of writing this article the latest version is 2.11.512.

Now open any application similar to RootExplorer,  and navigate to the file as shown
/data/data/com.whatsapp/shared_prefs/com.whatsapp_preferences.xml

Open the file in edit mode and add this two lines before </map> in the file

Code:
<boolean name="call" value="true" />
<string name="call_allowed">all</string>


Now force stop WhatsApp and then launch it again or restart your phone.

Below are some attached screen shots.
Tested on device Moto E- XT1022.(Android 4.4.4)


Credits to xda, official thread here.


Friday, 21 November 2014

Rooting Moto E(XT1022)

Hello guys, Welcome to TechJugaad Center, we're going to show how to root the Moto E today. Moto E is a budget smartphone, with really cool specs. I got mine from Flipkart. So head there if you want one. 
In this post we'll show you how to root the Moto E and install some cool apps that'll take the Moto E to the next level, the most cool feature that rooting will bring, is that, your Moto will be able to do screen recording. You've heard it right, screen recording. I have attached a video which i had recorded. Do check it out.

Downloadable Arena:(Download the stuff mentioned here from the links provided, please let us know of any dead links.)
1. mfastboot
2.SuperSu 
3.TWRP Recovery  (Rename it as recovery.img)
4.MotoE drivers  (Install them immediately)

First make sure you have unlocked the bootloader, use the link given below and follow the instructions given on the site.
Unlock Bootloader (You can use mfastboot instead of Android SDK)

 Note- You'll lose your warranty after unlocking the bootloader, and i'm not responsible if you brick your device in this process.

 Follow these steps-
1. Copy SuperSu to the SD card of your mobile.

2. Copy TWRP Recovery to the mfastboot folder.

3.Open command prompt and navigate to the mfastboot folder, or just navigate to the mfastboot folder first and hold Shift and then Right Click in empty space you'll get an option to open command prompt, this trick works in Windows 8. 

4.Turn off your phone and then hold the power button along with the volume down button for 10 seconds and then release them.

5.Connect your phone to your laptop or desktop via a USB cable.

6.In the command prompt type this command and hit enter
fastboot flash recovery recovery.img

 7. TWRP Recovery will begin and there choose the install option, navigate to the SuperSu, which you had earlier copied to the SD card. 
  
 8.Your phone will restart and presence of SuperSu app indicates that you have successfully rooted your device.


SuperSu App, the status bar and navigation bar have been tweaked using the apps given below.


Now to tweak the looks of your Moto E follow the steps given below.

Now download this app
1.Xposed Installer

Once you've installed Xposed Installer, go to the frameworks option and install the framework, then reboot your device.

Now depending on your choice download any app from the Download section of the Xposed Installer, there are many apps with description of the functions they perform.

These two apps are used by me, so i'll recommend them if you're still stuck on KitKat and have not received the Lollipop update-
1.AndroidL Navigation 
2.GravityBox[KK]

BeforeXposedInstaller


After using XposedInstaller


AndroidL Navigation will change the KitKat navigation buttons and put Lollipop navigation buttons.
GravityBox is a powerful app that has the capability to change the overall look of your Moto E, also you can make customisations to the feature of Screen Recording.


Hope this post helped you, leave your comments below if you get stuck anywhere.

Sunday, 27 July 2014

Chat bot for Windows

                 Creating a chat bot for windows from scratch.

This post is for people who want to create a chat bot from scratch, the basic requirement is only a PC and an internet connection.

The program for chat bot is written in Python and the knowledge base of the bot in AIML, so see that you have a basic knowledge of the two languages. Download Python (3.4), AIML (not required if you don't want to change the knowledge base of the bot)

Before beginning you need to know how AIML is used and how it enables the bot to talk.(Skip this part if you're not much interested with the details)
The bot responds to particular responses, the conversation which trigger the appropriate response are written using aiml, and saved in a file with .aiml extension. It's like instructing the bot to say "hello" only when someone says "hi". Responses are written in the .aiml file, the files can grow in number and require lot's of time to compile and load hence they are all combined into a .brn file(There is a program which does this, here) which is loaded in the beginning.

The basic working of the bot is in this way, first Speech to Text conversion is done(using speech module of python), the text is then sent as input to the bot. The bot sends an appropriate text as output, depending on it's brain file, the text is then converted to speech using the Windows built in text to speech converter. 
Other details are given with the code, in form of comments, which is sufficient to understand the entire program.

Things to download-
1. PyAIML
2. Speech Module(Download the .tar file extract it to the folder where python is installed, open a command prompt there and type the following-python setup.py install)
3. pyttsx(It's installation is similar to that of speech module).

The code is present here, it's only of few lines. The speech to text converter is not that great and hence you'll find the bot responding in a funny way. The solution to this is to use Google Speech to Text converter. I've tried that but i was not able to do it, got stuck with audio and flac file stuff. To change the bot's response just change the .brn file the bot will start interacting in a different way.

It's done, now give the bot a name and start chatting with it.

Hope you enjoy chatting with the bot.
*There is a Omegle Chat bot which i've made, make sure that you check it out, here.

Saturday, 19 July 2014

Unlocking Bootloader of Moto E(XT1022)

This guide is for beginners who want to unlock the bootloader of MOTO E.

Before starting let's get familiar with some common technical terms and learn something about the bootloader. If you're already familiar with the bootloader and other technical terms than skip this portion and go to Step 2.

Step 1-Things to know before unlocking the bootloader.

_________________________________________________________________________________

*What is a bootloader and why is it locked?
-> Bootloader is the first program that runs when you start your device. It contains the information of the stock ROM(ROM is similar to OS of computer like Windows and Linux). It is responsible for starting the booting of the ROM. The bootloader is locked, means that you cannot put any other custom ROM on your device. If you try to flash a different ROM, that is like you're trying to install different OS. Then your device might get bricked, it means it'll be totally useless and it can only be used as a paper weight.

Now you may ask why companies lock the bootloader, the bootloader is locked for security purposes. To prevent malicious ROMs from being installed. The average person doesn't have much knowledge of how the things are working under his device, so for the security of such people it's usually locked.

Must know Terms-
* Stock ROM- The original ROM which comes with the device.
*Custom ROM- ROM's which are modified and enable you to have root access.
*Flashing the device- Installing custom ROMs or kernels.

*Why to unlock the bootloader?
-> The bootloader is unlocked to enable an user to install custom ROM and gain root access. In short the first step in rooting the device is to unlock the bootloader. Root access on a device means that you can modify almost every system file present in the device. Which can be dangerous if the person doesn't know what he's doing, which is another reason why the bootloader is locked as people may totally screw up their device and it's the company who'll get a bad reputation for it.

Unlocking the bootloader voids your warranty, but you can relock the bootloader, provided your still having the stock ROM.

Usually developers are the people who unlock the bootloader to play with their devices. Nowadays everyone wants root access this is the sole reason why people consider unlocking the bootloader. But beware that rooting a device has it's own drawbacks.

Must know Hack- Suppose you mess up your device and it's still in warranty period, then flash the stock ROM, relock the device and take it to your nearest service center. They wouldn't know a thing and would help you with your device.

_________________________________________________________________________________

Step 2- Unlocking the bootloader

Prerequisite- Download these files Android, Drivers.

You don't have any need to download anything from the website.

1. Go to this site and read the instructions given there for the sake of reading and proceed to making an account or sign in using Google+ id.

2. Turn off your device and then push the volume down button and while holding it push the power button, afterwards release them simultaneously, the device will enter fastboot mode. Connect your device with the PC.

3. Now go to the folder Android which you've downloaded earlier
hold shift and press the right click of your mouse and select open command prompt here option.

4. Now type fastboot oem get_unlock_data, you'll get some strings. Don't panic if you don't get anything here, probably the drivers are not probably installed. Try restarting the PC and then continuing.

5. Right click and select mark and copy the five lines of strings, be careful to not consider the white spaces.

6. Paste the string on the site and request an unlock key, i've tried with my MOTO E and i was unsuccessful in the first attempt when i pasted the string along with the blank spaces. So you're gonna get an unlock key just be sure that you're pasting the right length of string without any white spaces.

Half the battle has been won.

1. You'll get a mail containing the unlock key of the device.

2. Click on the link given in the mail.

3. Again put your device in fastboot mode as you did earlier, pressing the power button while holding the volume down button and connect it with the PC.

4. Now type fastboot oem unlock THE_KEY_You_Recieved

5. If all goes well you'll get a message on your device that your bootloader is unlocked.


The message will always be seen by you whenever you restart your device. 

And there you have it, your device with an Unlocked Bootloader. Now you can proceed to root it or install Custom ROM of your choice.

**Note-1. You'll lose all the data present in the internal storage after completing of this operation.
2. You continue to receive updates after unlocking of the bootloader.

Tuesday, 25 February 2014

Rooting Samsung Galaxy i5503

Rooting a phone has many advantages, to list a few, you'll be able to run apps that require access to system files, change the default bootscreen, tweak system settings, explore the system files and much more.

This method of rooting, which i've listed, involves installing a custom rom(CyanogenMod) via ClockWorkMod (CWM) recovery. So basically you'll lose the stock rom and also lose the warranty of your device.  But in return you'll get rooted phone and Android Gingerbread os.

*Perform the following steps carefully i am not responsible for bricked devices.

*Before beginning see that you know how to boot into CWM recovery, on your stock rom. If you don't have any idea then see this post.
After booting into CWM recovery see that you make a backup of the stock rom, choose back up option. After that boot your phone normally.

1.Download files from here
2.Extract the content of the above file to the SD card of your phone
3.Now boot your phone into CWM recovery
4.Select Wipe Data
5.Select Wipe Cache Partition
6.Go into advanced and select Wipe Dalvik Cache
7.Also in advanced option select Wipe Battery Stats
8.Then select install zip from SD card
9.Select update-cm-7-20120518-madteam-galaxy5-signed.zip
10.Then Select TouchWiz_3.0_port_v0.7.zip
11.After that select gapps
12.Now select Wipe Data
13.Select Reboot into System

If all is well then you'll boot into CyanogenMod.


**If you experience bootloops then go to this link.
Register there and get the baseband file of your region. Then flash the baseband using Odin.
To flash a baseband refer this.
Over there instead of selecting CWM file, select the baseband file which you've downloaded.

Then repeat all the steps given here starting from step no 3.


If you're not able to go around the problem of bootloop or if you don't like CyanogenMod. Then select the restore option from CWM recovery and select the backup which you've had made earlier. This will make sure that you've at least a working phone.

Post your questions below

Sunday, 23 February 2014

Samsung Galaxy i5503 installing custom recovery

Installing custom recovery has many advantages like you'll be able to make a nandroid backup, do factory reset, wipe cache, install custom roms.

To install custom recovery on your device-
->Download these files.
1.Samsung Device Drivers- rar or exe

2.Odin-here

3.(ClockWorkMod Recovery)CWM

4.Europa.ops(here) 

i.Install Samsung Device Drivers (For windows 8 **.)
ii.Install and open Odin

->Switch off your phone and then hold volume down button along with menu button and the power button.

->You will see a message Downloading along with the android logo, now your phone is in downloading mode.

->Now connect your phone to the computer.

Note-Odin should be able to detect it, if it doesn't than try again after restarting your pc. Even this time if it's not detected than try re-installing the samsung drivers.
......

**For Windows 8 users, simply clicking on the exe file won't install the samsung driver. You'll have to perform the following steps.
*Follow  these steps after connecting your phone to your pc, connect in downloading mode.
1.Go to control panel, choose device manager.

2.Under unknown devices sub-menu, right click on unknown device.

3.Select update device software

4.Select Browse my computer for device drivers

5.Browse to the folder where you downloaded the Samsung Device drivers.

6.Click on next and then you'll have the drivers installed.


....


* Remember to check that the message box indicates as "Detected" before proceeding with the given steps.(Here i haven't connected the phone)

3.Under select ops, select the Europa.ops which you downloaded earlier

4.Then tick one package under the options, then under select integrate package select the CWM which you downloaded earlier.

5.Click on Start and let the process complete.

->This should install the CWM recovery. 

* You'll void your warranty by this process and
I am not responsible for bricked devices. Follow the steps carefully, i'll help you if you get stuck somewhere.
Post your questions below.

*Note- You'll have to install custom rom to boot directly into custom recovery. You will not be able to boot directly into recovery using stock rom, you'll always have to flash the recovery using odin.

Sunday, 16 February 2014

Limited internet in windows 8

Whenever you connect the ethernet wire, to your windows 8 laptop or pc, and you get this notification of limited internet or you run windows troubleshooter and get invalid ip configuration. Than your in the right place, i'll show you how to solve this problem.

You can use the steps given below to share a single internet cable between many users, just remember the mac address of the user in whose laptop the internet works properly.

I guess this problem is not because of any fault in Windows 8, it occurs may be because the internet service providers use the physical address or mac address of the pc, which has issued the internet connection, for validation of some sort. If any other device with a different mac address tries to connect in then it may be rejecting them.

Prerequisite- Any known laptop or pc in which the internet works by connecting the ethernet wire.

If it happens that the internet works on the laptop of your buddy and the same won't work on your laptop. Than follow the given steps.

Step 1- Take your friends laptop, open Command Prompt and type ipconfig/all

Step 2-Find the ethernet adapter section and there you'll find the physical address.


Step 3- Copy down the physical address "without" the hypen.

Step 4-Now take your laptop, open control panel.

Step 5- Go to device manager and select network adapters.

Step 6- Click on your ethernet network adapter,usually the last one in the network adapters list, and right click on properties.

Step 7-Go to Advanced, there select Network Address.

Step 8-Enter the physical address, which you had copied, earlier in the value part. Enter the physical address "without" any hypen.

Step 9-Now connect the ethernet wire, you should now be able to surf the internet.

Post your questions below.


Sunday, 9 February 2014

Stuck on White HTC logo screen

This guide is only for HTC explorer

I don't know the exact cause of this problem, but i have seen that it generally happens after a factory reset is done or after upgrading to higher version of android. The problem lies somewhere with the sd card. Also, when the mobile boots into bootloader, you may notice that while at the start of the bootloader, no image found error messages are being displayed multiple number of times.


Solution-
1.Install a Custom Recovery after connecting your phone in fastboot mode. Ignore this if you already have a custom recovery installed.

*To install the custom recovery-

You'll find the htc drivers, adb files and also the image to install custom recovery below
Android(Place it in C Drive with the name of the folder as Android)

Drivers(Extract it to the Android folder, which was previously created)

Recovery Image(This is a TWRP recovery image, rename it as Recovery and place this in the Android folder)

**Start your phone in fastboot mode, that is by holding the power and volume down button together.

*Now connect your phone to the computer.

*Open command prompt and navigate to C drive.

Type cd.. in the command prompt until your left with C:> as the 
starting line.

Then type cd Android

Then type 
fastboot flash recovery Recovery.img
This should flash custom recovery in your phone.

To boot into recovery start the phone in fastboot mode and select recovery from there.


2.Now you'll have to format the sd card, if your having any important things in it then better back up its contents by choosing the mount option from the recovery.

That'll make your sd card accessible and then you can copy paste it's data somewhere safe.

3.After formatting sd card reboot your phone and see if the problem is fixed. If not then follow the next step.

4.Reboot into the bootloader of the device. Go back to custom recovery and choose the option of partitioning sd card, choose ext4, then reboot your device. This should positively solve your problem.


If the above steps don't seem to work then google for ruu of htc explorer.

Hope it helped

Post your questions below.

Saturday, 1 February 2014

No IMEI error Xperia E dual

I had faced this problem after rooting my Xperia phone, none of the two SIM card were working.

It happens after flashing kernels not meant for the device or by flashing rom not meant for the device.

So i checked the baseband, given in details about your phone under the settings, and it was displaying it as unknown.

So i typed *#*#7378423#*#* in the dial pad to check any problems. There i noticed that my imei number was missing. It's field was blank.

The solution to this problem, which i used, is to flash back the stock rom. It worked for me.


If you don't have stock rom then download SEUS and flashtool. Relock your bootloader and use SEUS to install back the stock rom. You can get the link, for SEUS and flashtool, from my previous post titled Unbricking Xperia .....The steps given in that post will help you get back your imei number.

Post your Questions Below-

Unbricking Xperia E dual C1604

Unbricking Hard Bricked Xperia E Dual

Flashed a new kernel or a rom and now the device won't boot up?
Requirements-
Flashtool- To relock bootloader here
SEUS -Sony Ericson Update Service

1.Your phone can be unbricked only thing is that, it should be able to boot into flashmode** and fastboot mode**.
**Refer to previous post titled -xperia e stuck in bootloop... to know about flashmode and fastboot mode.
2.If it doesn't boot into flashmode or fastboot mode then it seems that there is a problem with the kernel or some hardware problem, then it's a serious problem as then unbricking with this method cannot be performed.

*Unbricking Using SEUS
Unlocked Bootloader-
1.If your bootloader is unlocked then use the flashtool and relock the bootloader.
2.Open SEUS->Select your device or select any device if your device is not mentioned->Click on reinstall the updates
3.Connect the device in flashmode when it prompts you to do so.
4.Now sit back and relax when the process will be completed then you'll have your device back with the stock rom.

Locked Bootloader-
1.Open SEUS->Select your device or select any device, if your device is not mentioned->Click on reinstall the updates
2.Connect the device in flashmode when it prompts you to do so.
3.Now sit back and relax when the process will be completed then you'll have your device back with the stock rom.

***Before starting the method said above see that you have the appropriate drivers of your device installed, otherwise your device may not be recognized by flashtool.
*Unbricking by Flashtool
Unlocked bootloader
If your not able to relock the bootloader for some reasons then follow the given steps.
1.Get the stock rom (ftf) or search xda if you have a different device.
2.Start Flashtool and select the lightning icon-> Select Flashmode -> Browse to the downloaded rom and click ok->Select wipe cache and wipe dalvik cache
3.Click on flash
This should get your device up and running.


****Precautionary steps to prevent bricking of your device
1.Always have custom recovery installed.
2.Keep a nandroid backup of the rom.
3.Never flash kernels not meant for your device.

If nothing works, the last thing to do is to lock the bootloader and go to a sony service center.

Post your questions below-

Sunday, 19 January 2014

GRUB Rescue Windows 8

I had faced this problem after i accidentally deleted the Ubuntu partition from windows. On the next start there came these lines

error: unknown filesystem.

grub rescue> 

I searched the net on Ubuntu forums also tried the grub rescue commands but nothing seemed to help. Than i found out that boot-repair can help, so i did the following steps.

1.Created a bootable usb with Ubuntu 13.04 on it


2.Selected Legacy mode in BIOS setup.


3.Selected boot from external source.


4.After booting Installed Ubuntu


5.Installed boot-repair, the following lines should install it
sudo add-apt-repository ppa:yannubuntu/boot-repair && sudo apt-get update
sudo apt-get install -y boot-repair && boot-repair


6.Chose advanced option in boot-repair, i tried the recommended repair but it did not help, ticked the option containing the lines windows harcoded efi


7.After completing the boot-repair, got into BIOS setup and selected UEFI boot mode


8.I was successfully able to log back into windows alongside ubuntu installed and running, on UEFI mode.


I hope this helps.

Stuck in Bootloop after Unlocking Bootloader Xperia E dual

*Experiencing Bootloops? 
->If your experiencing bootloops that is the device just goes to the loading screen and restarts, then you'll need to follow the given steps-

1.Download Flashtool here.

2.Download this kernel. Here is the link that will install dual custom recovery on your device

3.Flash the recovery by connecting phone in fastboot mode* and then selecting the lightning icon given in the flashtool.
*To connect the phone in fastboot mode, first switch off your phone. Then press and hold the volume up button. Connect the phone to the computer while the volume button is still held. Notification led will glow blue indicating success.

4.Then select fastboot mode then choose select kernel to flash then browse to the file downloaded above and then flashing would be done.

5.To boot into recovery keep on pressing the volume down button when the led below is glowing blue. This would get into TWRP custom recovery. If you want to boot into CWM recovery then keep on pressing the volume up button when the led below is glowing green.

6.Then select wipe data/cache and also wipe dalvik cache.


This should probably solve the bootloop problem.

If you're having any problem like missing IMEI number than refer to this post.


Post your queries below.

Know Jugaad. Powered by Blogger.